Now that you’ve learned and have a better understanding about the exposure triangle and the three basic settings used to take a photo, let’s look at some more tools and techniques that will help you capture stunning images. If you aren’t familiar with these three basic settings and what they do, check out my previous blog titled “Camera Basics” to get a better understanding as to what each of these primary settings do.
Exposure Meter
One of the tools that every DSLR and mirrorless camera has is an electronic exposure meter. This helps you determine if your photo is going to be evenly exposed or not. It is very important to pay attention to this while shooting. If you don’t then you could come home with underexposed or overexposed photos that could be unusable. This is where knowing the exposure triangle, (shutter speed, aperture, and ISO) and what each one of these settings does comes into play. You will be able to adjust your settings accordingly to ensure a properly exposed photo is always captured.

This is what your exposure meter looks like inside of your camera, with the black tick mark indicating what your exposure is.
White Balance
This is another setting that is very helpful in creating the mood of your image. White balance can either make your image warmer or cooler depending on what it is set at. It’s good to change this in the field while shooting, but personally I have mine set to AWB, which stands for automatic white balance. This setting gives the camera control over the temperature color of your image. This can easily be changed in post processing, which is why I leave mine in AWB.
Below is an example of how white balance can affect the RAW images in the field.
This image was shot with a set, colder white balance.

This image was shot using AWB, which naturally gave the image a warmer tone.
Focus
There are two different ways to focus, and those are manual and automatic focus. I prefer to manually focus my images unless I’m shooting wildlife or in a situation where I need to focus quickly. Manual focus allows you to determine what is in focus and what to focus on. I also prefer shooting manual focus because it allows me to be more present and focused on the scene in front of me, which is what photography is all about. Being present and living in the moment. Autofocus is better to use when shooting an event, such as a wedding, concert, or sports. I also use autofocus when shooting portraits in order to make the session move faster so that the client gets the most out of their session. You don’t want to be struggling to focus and wasting time when there are still plenty of shots to be taken.
Now that we’ve covered a few more tools and settings that you can use to shoot great photos, let’s look at a few different shooting techniques.
Depth of Field
Depth of field is when you create separation by choosing what is and isn’t in focus. Depth of field is a great way to isolate a subject from either the foreground or background. Creating this separation is mostly used in portraits to isolate the person in the photo. We want to make them stand out in the photo, and by making the background blurry and out of focus we are able to make them pop from the rest of the image. To achieve this separation we need to use a faster aperture, such as f/1.8 through f/5.6. You want to make sure that your whole subject is still in focus. Using an aperture of f/1.8 might not be the best for large groups since everyone will be at different distances. I like to use depth of field in my landscape photography by creating a shallow depth of field in the foreground in order to make my subject and background stand out more.

I wanted to create a shallow depth of field for this particular image in order to make the bird and the tree stand out from the background.
Rule of Thirds
You may have noticed a grid similar to a “tic-tac-toe” board when looking through your viewfinder. This grid helps you set up great compositions when out in the field. The first technique that most photographers learn is called the “Rule of Thirds”. This is when you place your subject off the left or right of the frame, usually on one of the intersecting points of the grid. Depending on your scene this allows for a unique and interesting composition. To use this rule to the best of its ability you want to pinpoint key areas of your composition and place them on the intersections of the grid.


For this image, the elk is placed on the left side of the grid.
Breaking Rule of Thirds
This one goes back to the phrase, “the rules are meant to be broken”. Breaking the rule of thirds is when you place your subject in the center of your frame. This is commonly used with headshots since you want your subject center, but it also allows for some unique and dramatic shots when shooting landscapes. It still helps if you have other key aspects of your image located on the intersections of the grid, similar to “Rule of Thirds”.


The bison in this image is placed in the center of the grid, breaking the rule of thirds.
Framing
Framing is a technique that can be used very creatively. As it sounds, framing is when you use your surroundings in order to “frame” your subject. I use a lot of tree branches to frame my subject when shooting landscapes, but you can also use this technique for some interesting and unique looking portraits. Framing helps the viewer know what the key focus of the photo is. Plus it helps compliment your subject using the natural world around you.

I used the opening in the branches to frame the mountain peak. Using the natural window creates a more powerful and interesting image than just shooting the subject.
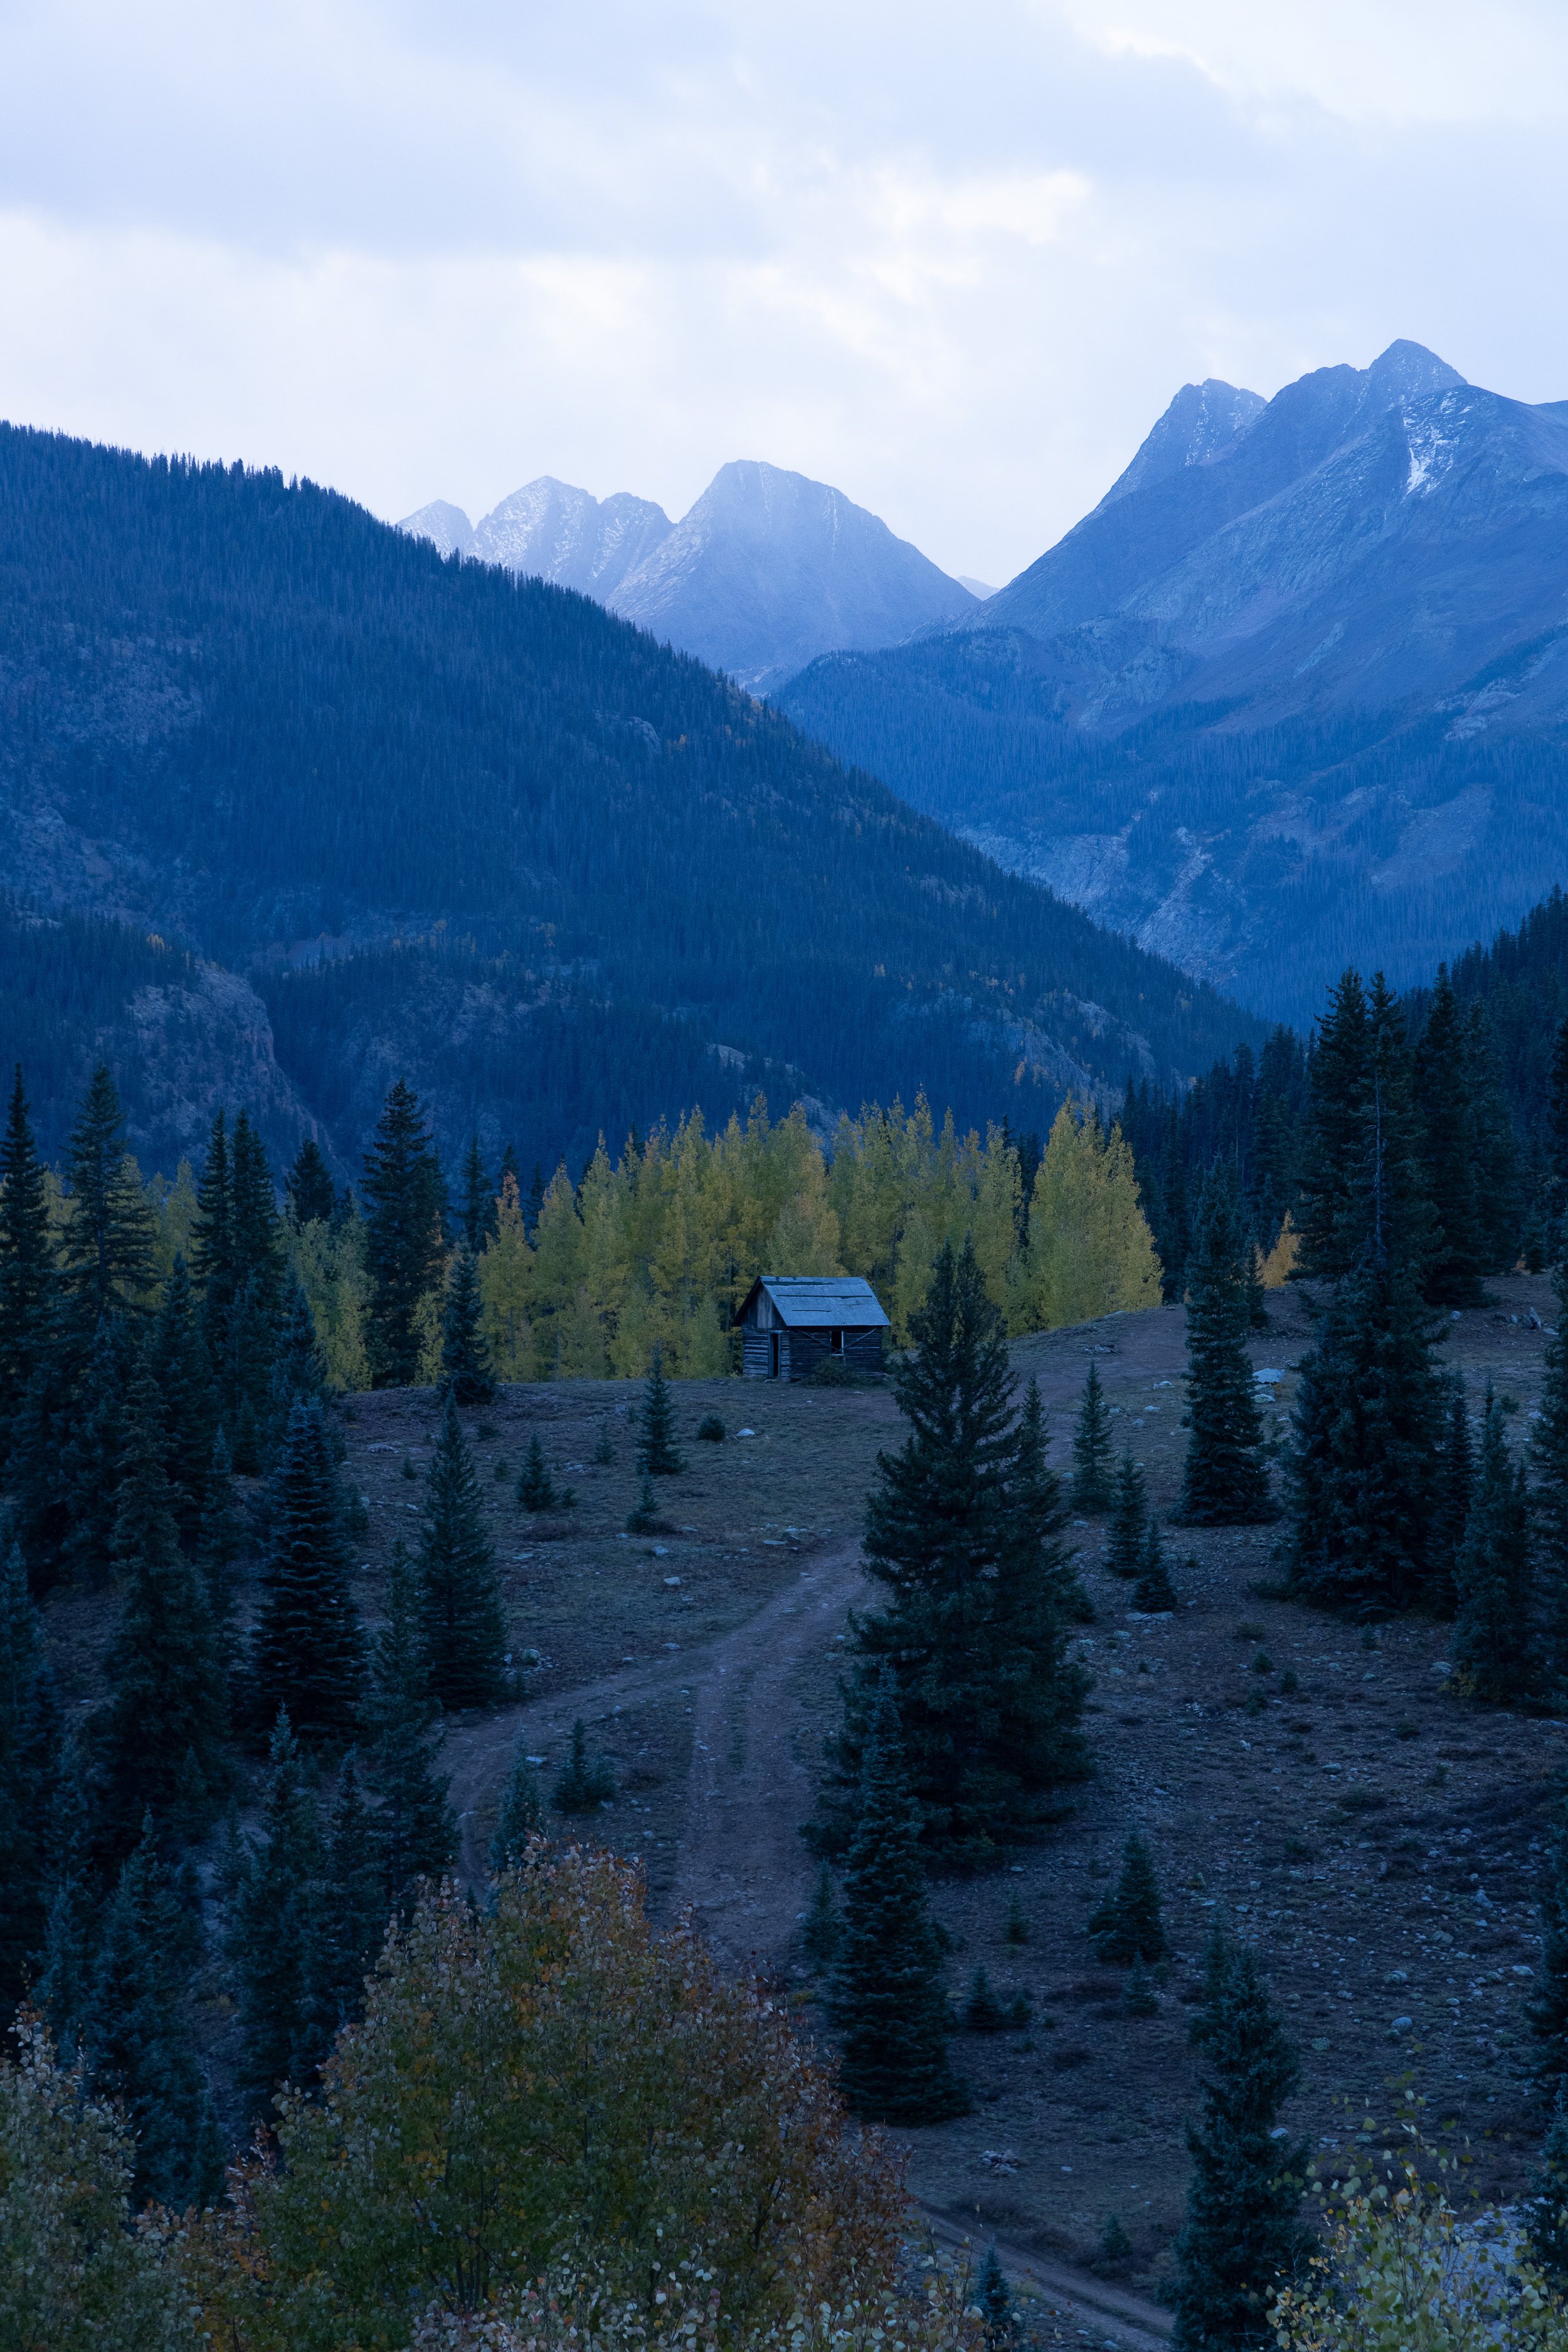
Leading Lines
Probably my favorite technique to use in my work is leading lines. Leading lines allow the viewer to follow something throughout your image. They can also be used to lead the viewer's eye from one part of the photo to the next. Instead of having an image that has a lot going on and isn’t very pleasing to the eye, leading lines allow the viewer to feel more comfortable looking through your image since there is something to lead them through it.

The stripes on the street act as a guide for the viewer’s eye to help lead them through the image.
By using these extra tools and techniques you will be able to create beautiful and unique photos. Photography takes practice to master just like any other profession or hobby. Creating a unique and diverse portfolio will help you learn and grow faster than just shooting what you're comfortable with. I still struggle to come out of my comfort zone, but when I do I usually learn something new. Of course the best way to improve your skills and develop your style is to get out and shoot. After a while you will start to see your progress through your images. That’s one of the aspects of photography that I love the most. Not only are you capturing a moment in time, but you are also able to visually see improvements in your work. So now that you have the basics on settings and shooting techniques, get out there and start sharing your creativity.
