There are 3 main settings that are very important to learn when starting out in photography; shutter speed, aperture, and ISO. These 3 settings are known as the “exposure triangle”, and each one has its own role in capturing a perfect photo.
Shutter Speed
Shutter speed is the easiest one to understand. This determines how fast your shutter moves and can determine how much light hits your sensor. That’s pretty much it. When shooting handheld a good rule of thumb is to never shoot at a lower shutter speed than your focal length. For example, if your focal length is 125mm, you should never shoot at a shutter speed slower than 1/125. This will help reduce camera shake that naturally comes with handheld photos. If you're shooting at a wide focal length, such as 15mm, 24mm, 35mm, etc., you should never shoot with a shutter speed slower than 1/60. Anything slower than 1/60 will usually result in camera shake and an out of focus image. But there are many different ways to use slower shutter speeds to capture an interesting and creative image.
A common subject for longer shutter speeds is water. Many photographers like capturing the “smooth” effect that comes with longer shutter speeds and water like this image here.

I used a 10 second shutter speed to achieve this effect.
In order to get this “smooth” effect you need to use a sturdy tripod. Creating this effect requires shutter speeds of 1 second to even minutes depending on how you want your image to turn out. Personally, I shoot my water images between 1-30 seconds depending on my surroundings and how fast the water is flowing. But water isn’t the only subject that you can use slower shutter speeds for. You can use a slower shutter speed to capture the movement of a car, a person, or even a fast moving animal.
You can also use faster shutter speeds to freeze the action happening. Examples include sports photography or freezing a fast moving animal.

I used a shutter speed of 1/800 of a second to “freeze” these birds flying over some small crashing waves.
There are so many different ways to use shutter speed to your advantage, it just requires a lot of experimenting and trial and error. Now shutter speed may be the easiest of these 3 settings to grasp, but there’s another one that really helps set the mood of the photo.
Aperture
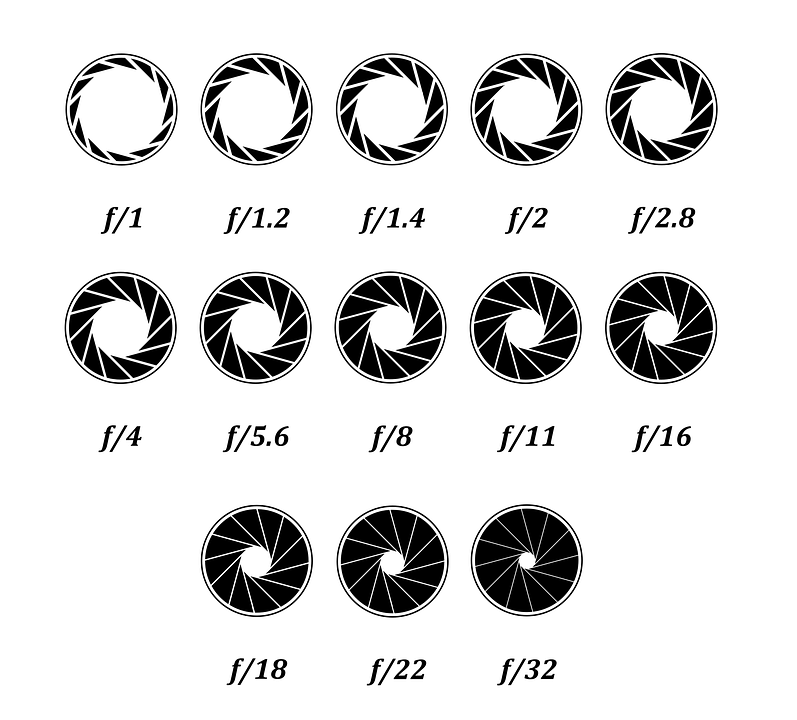
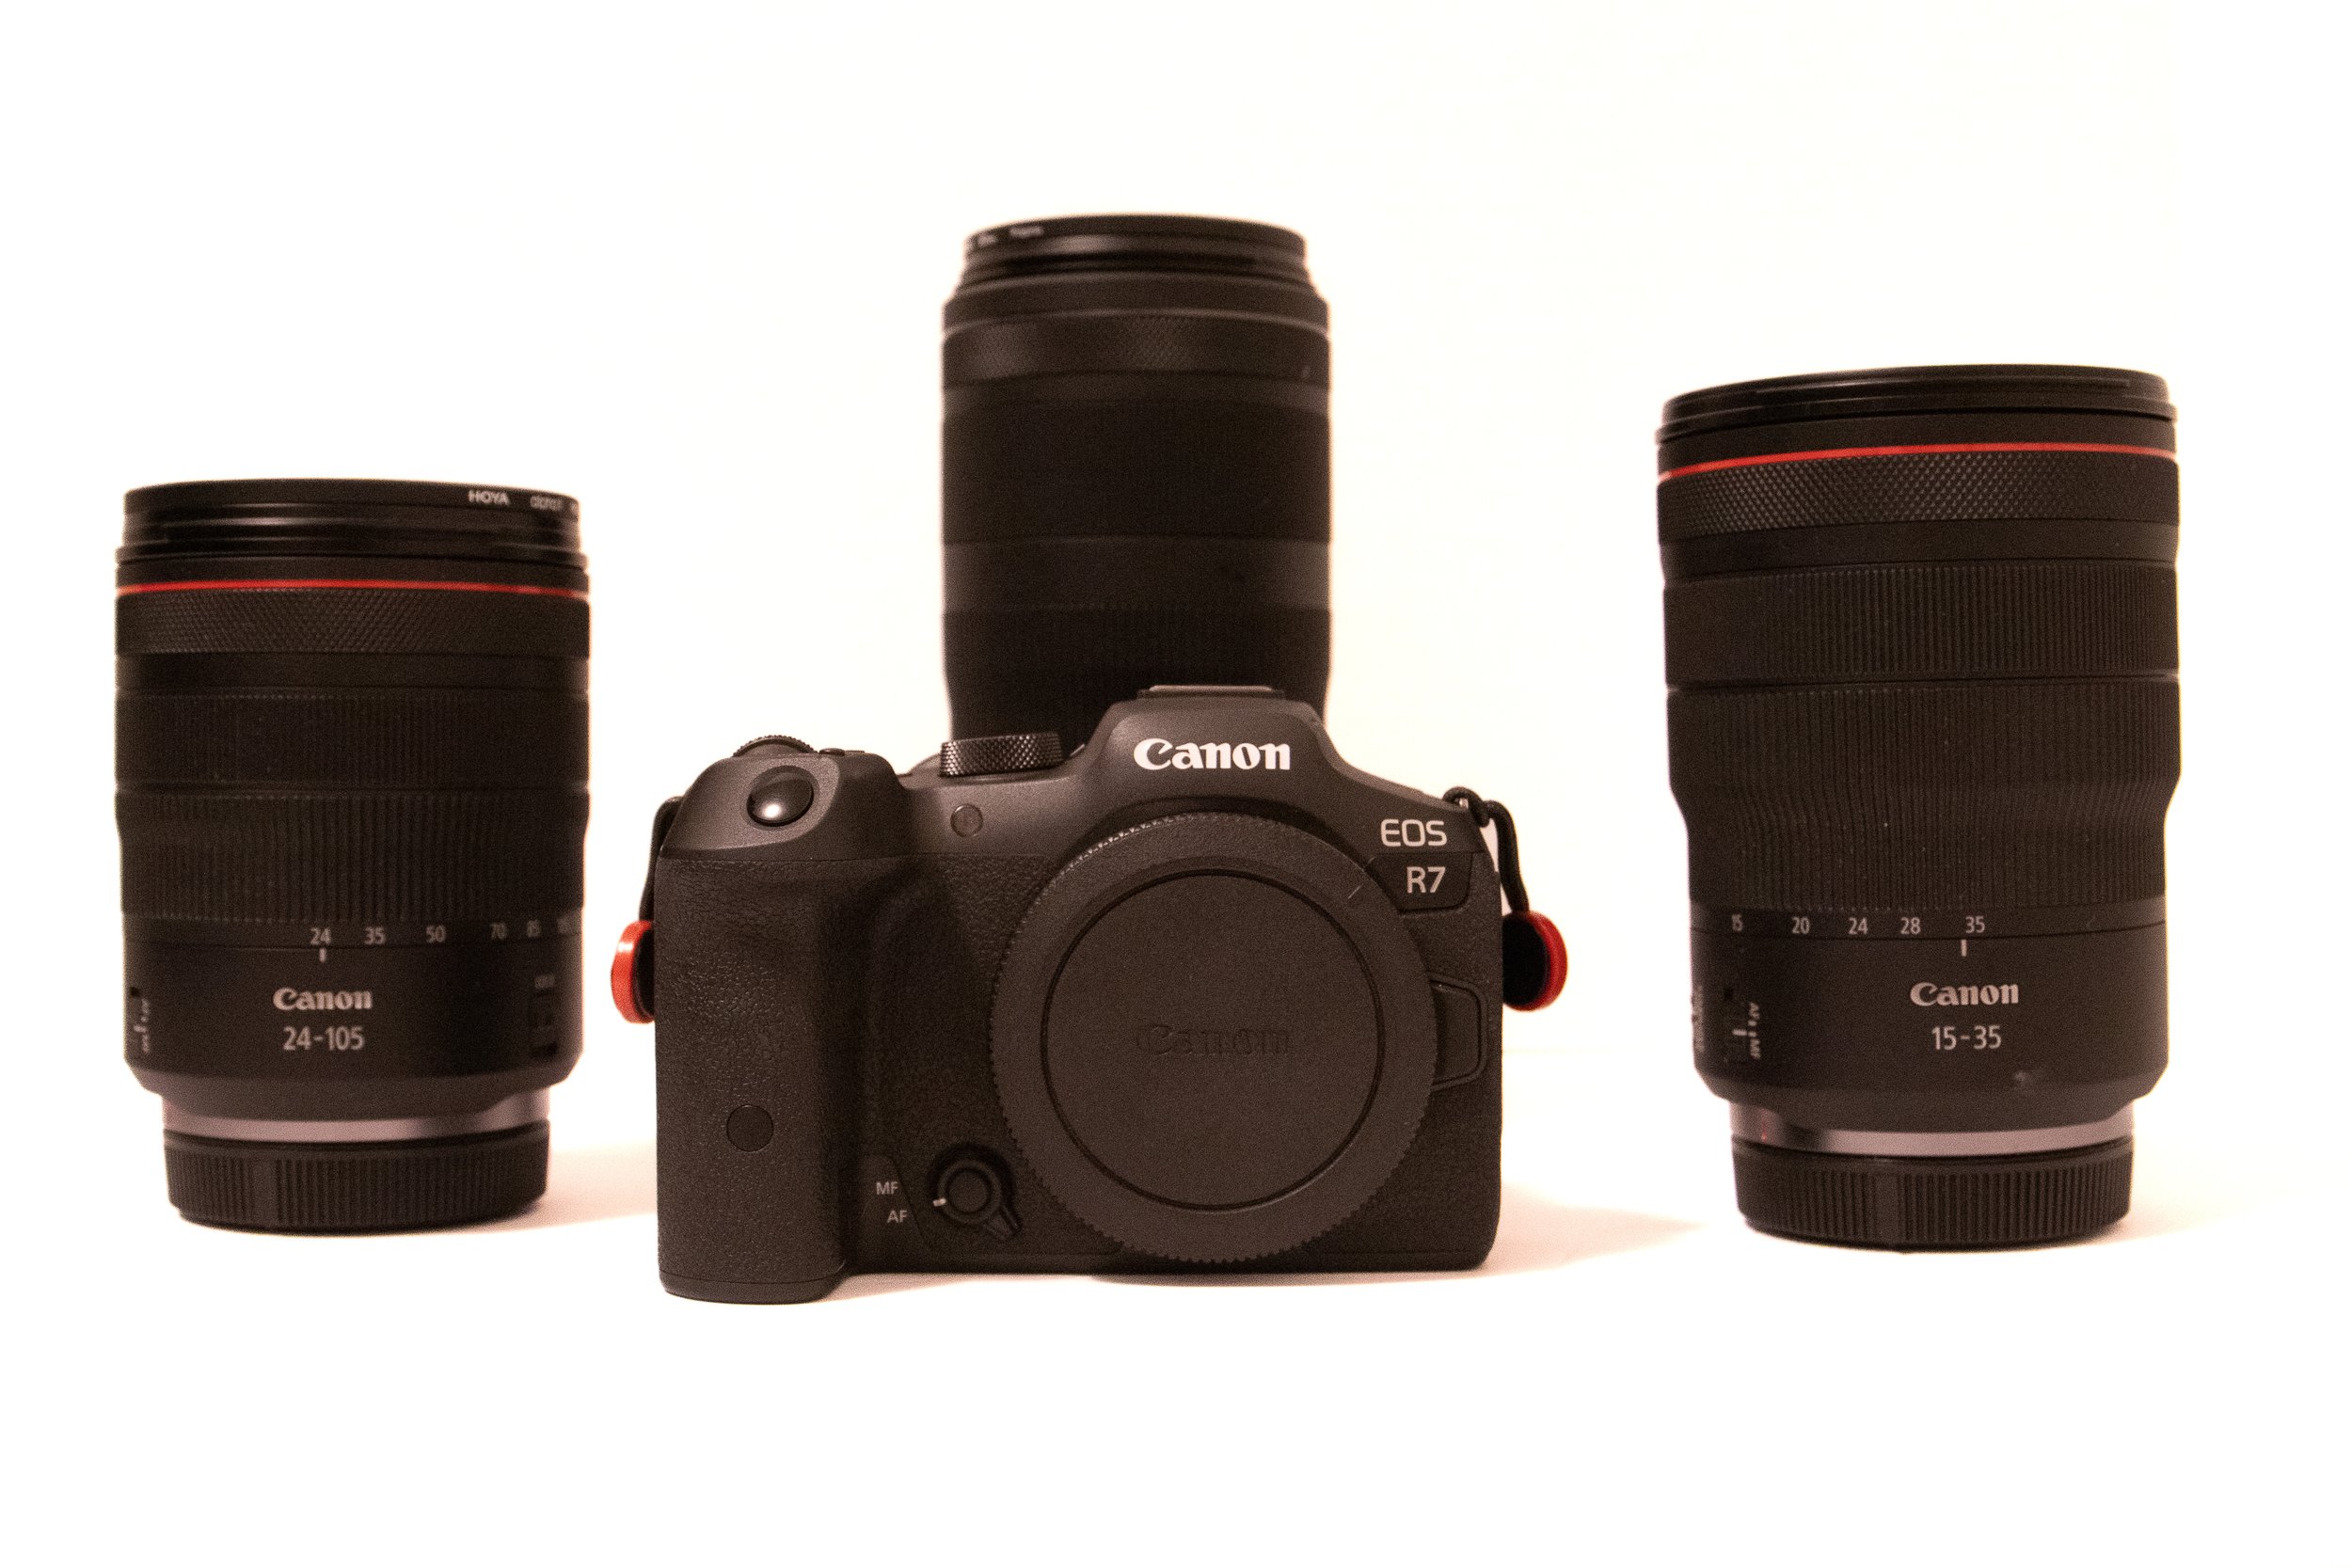
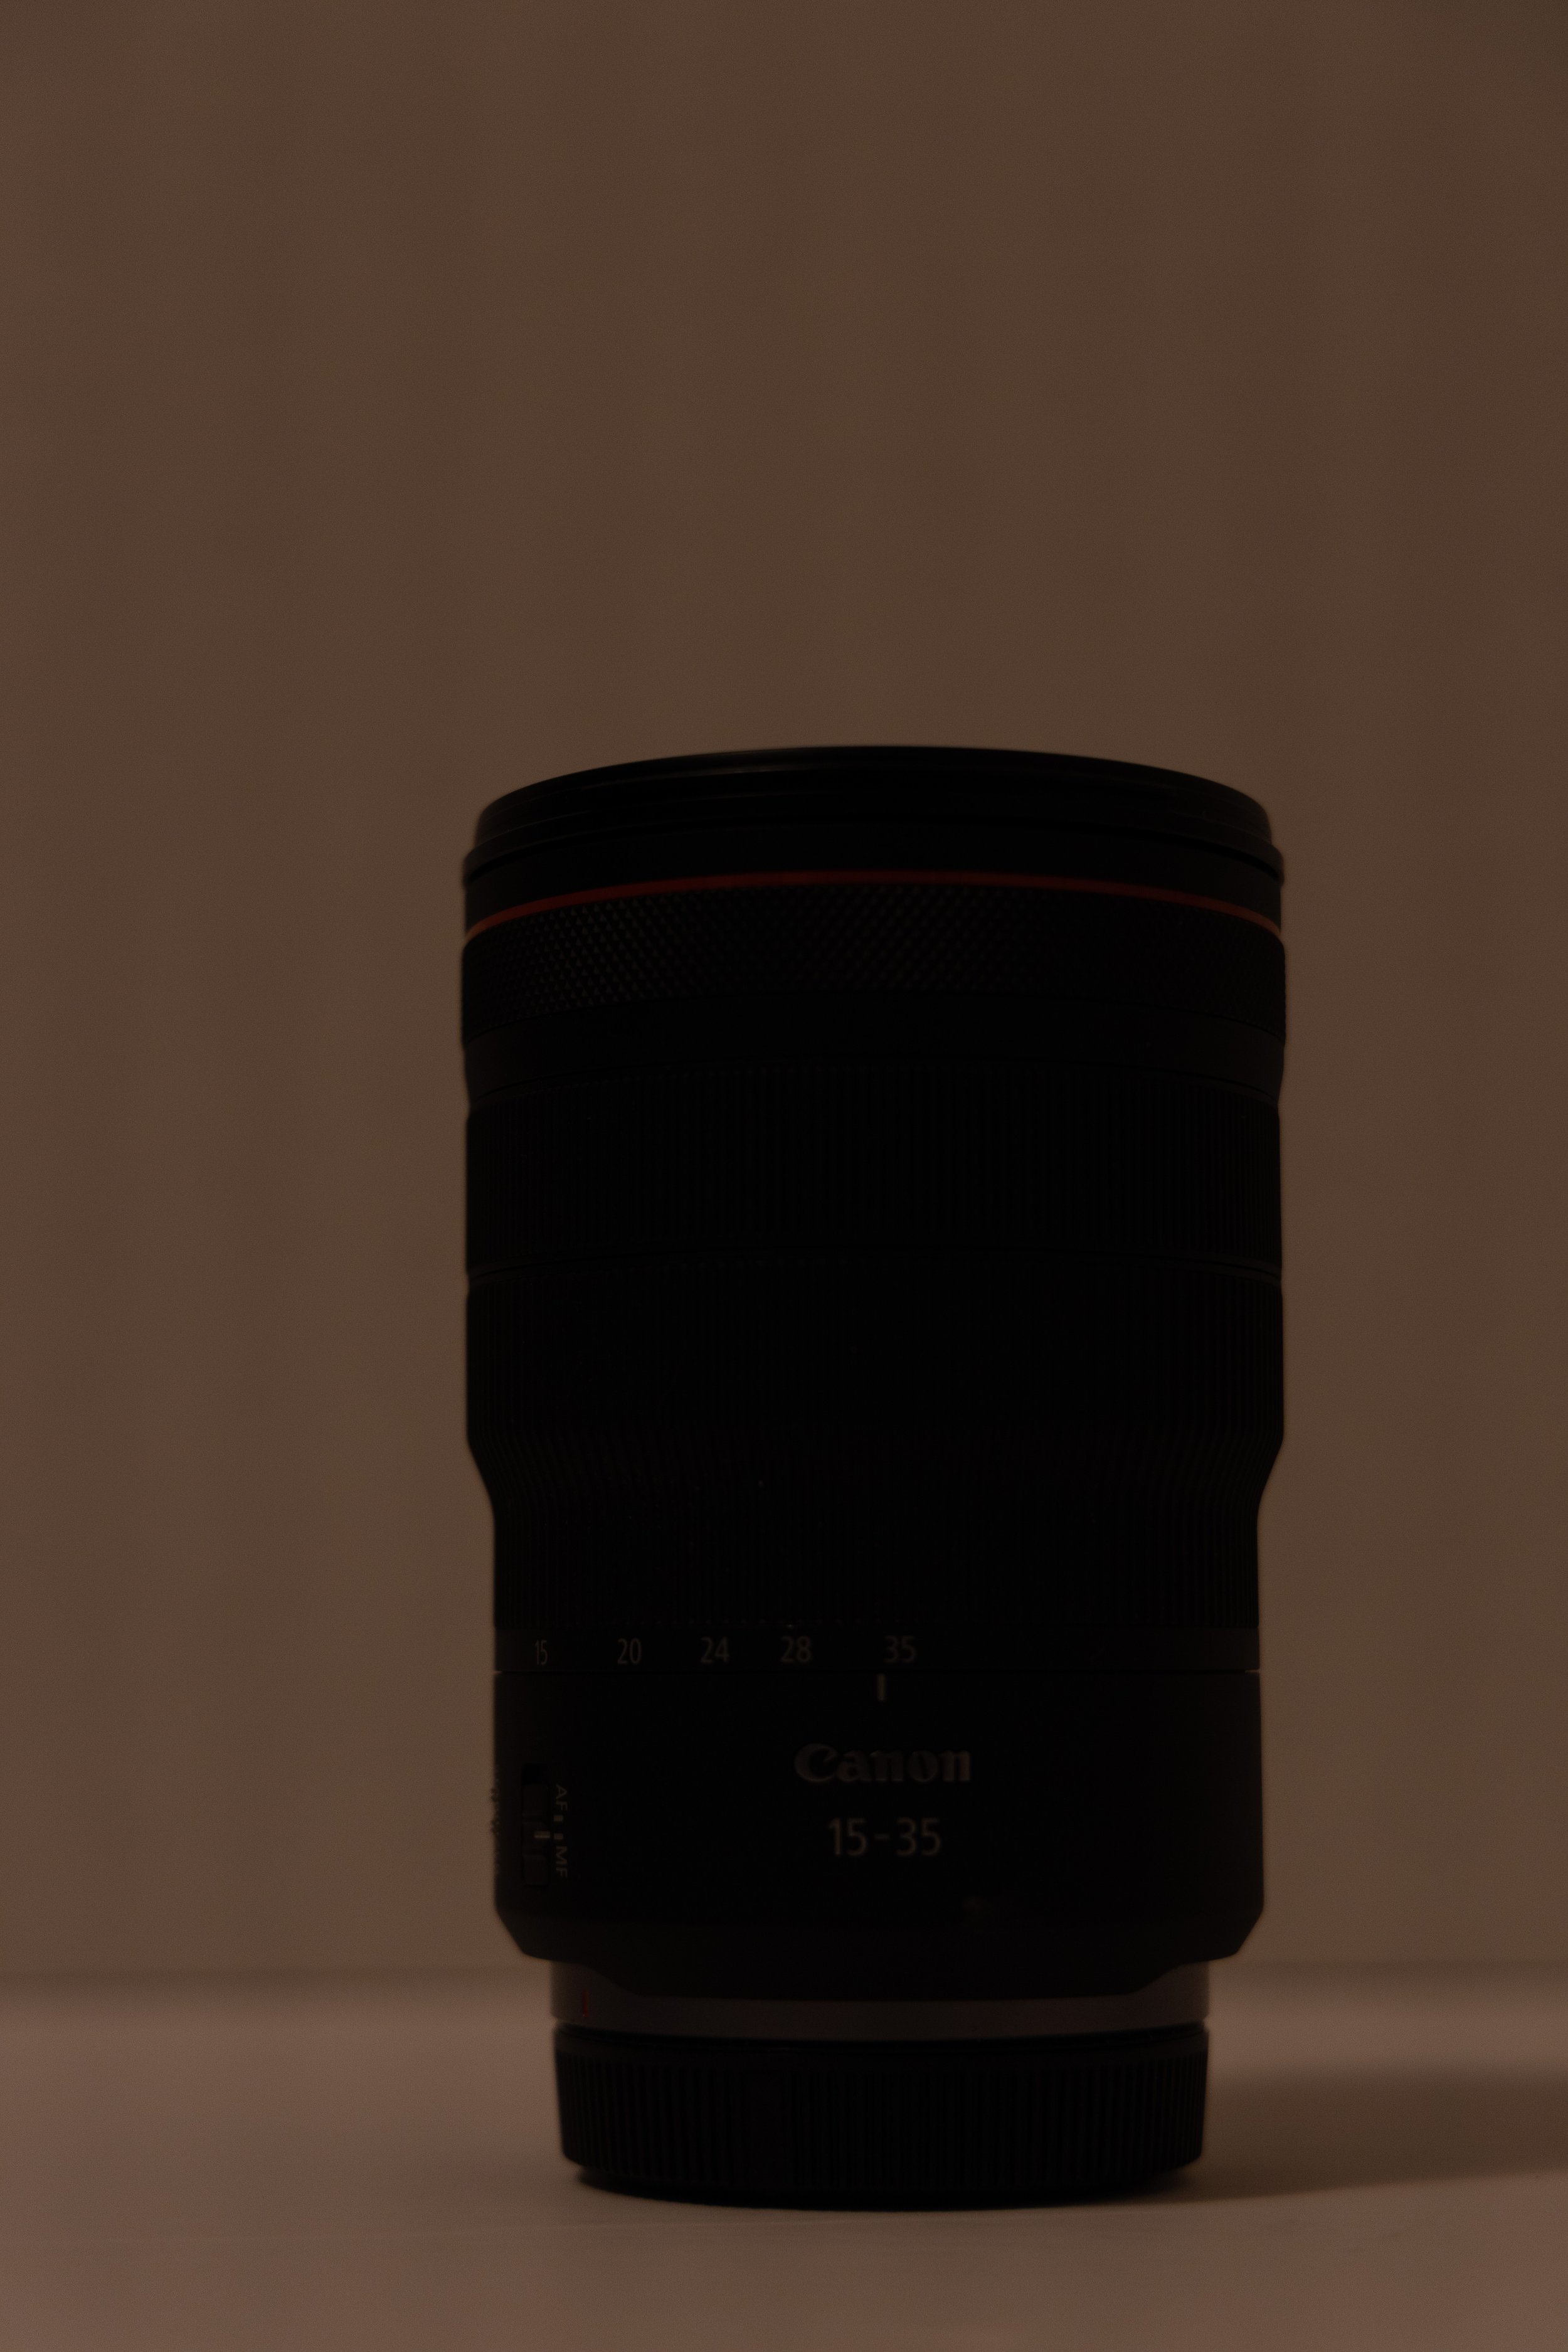
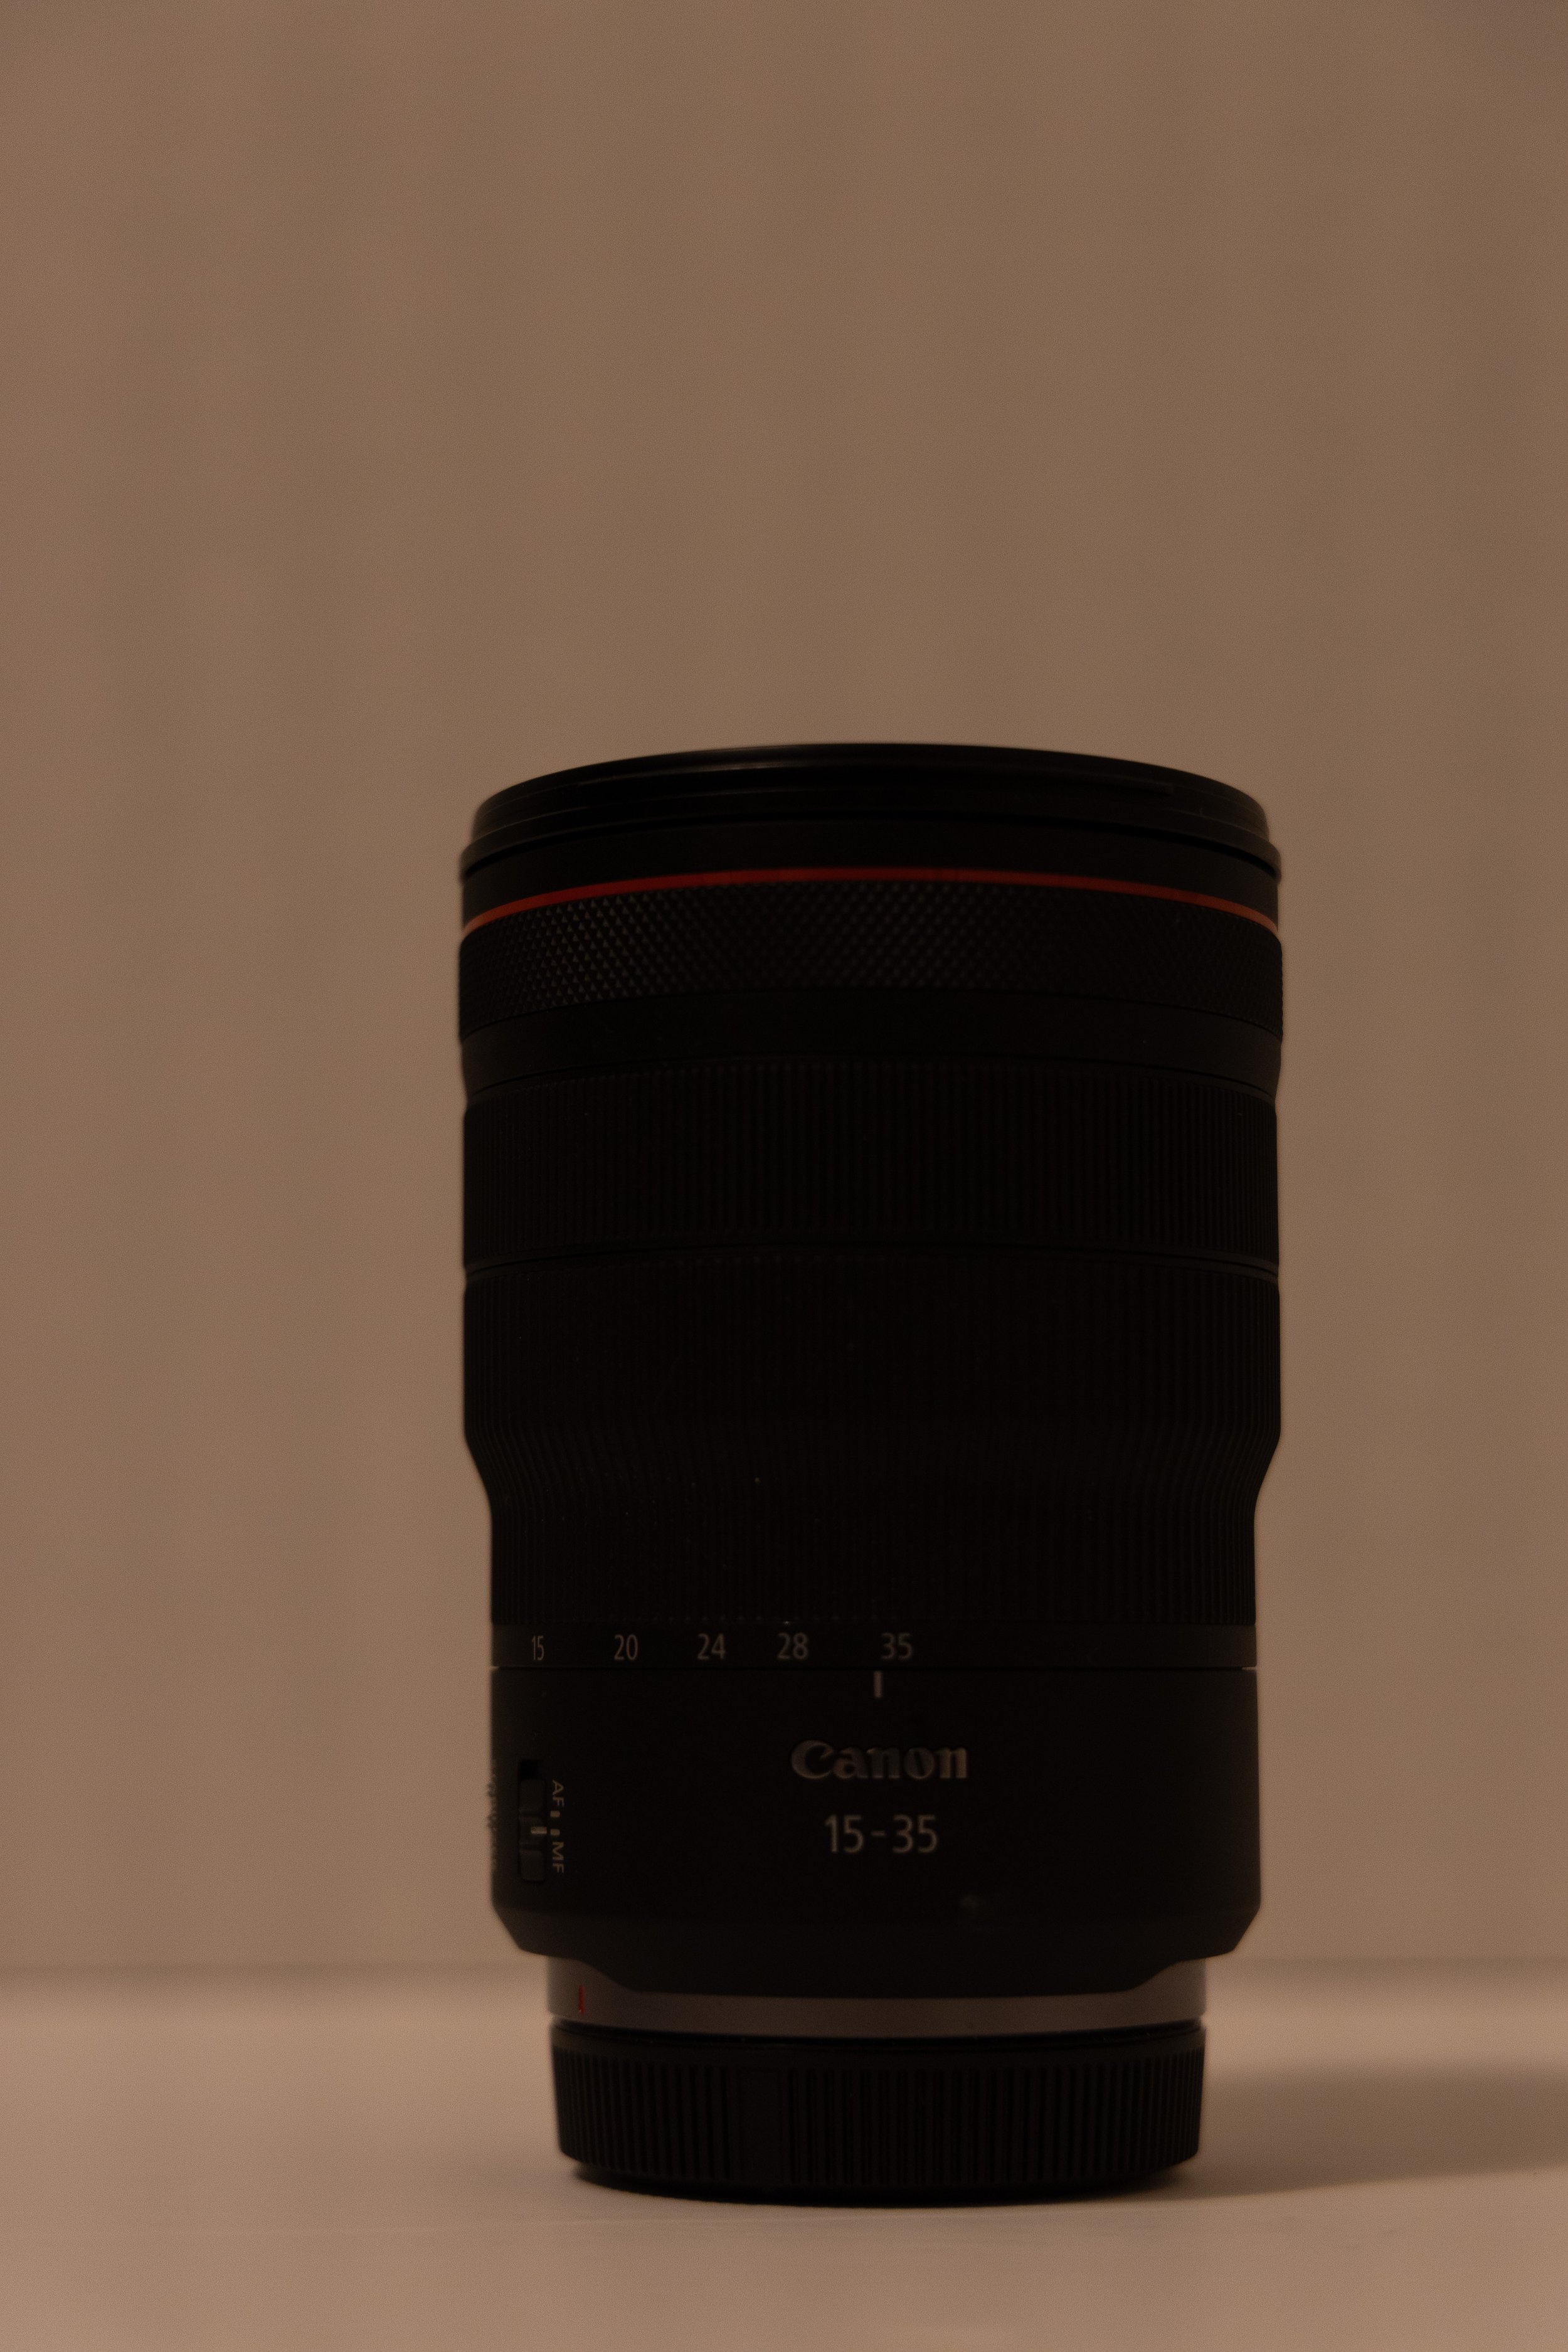
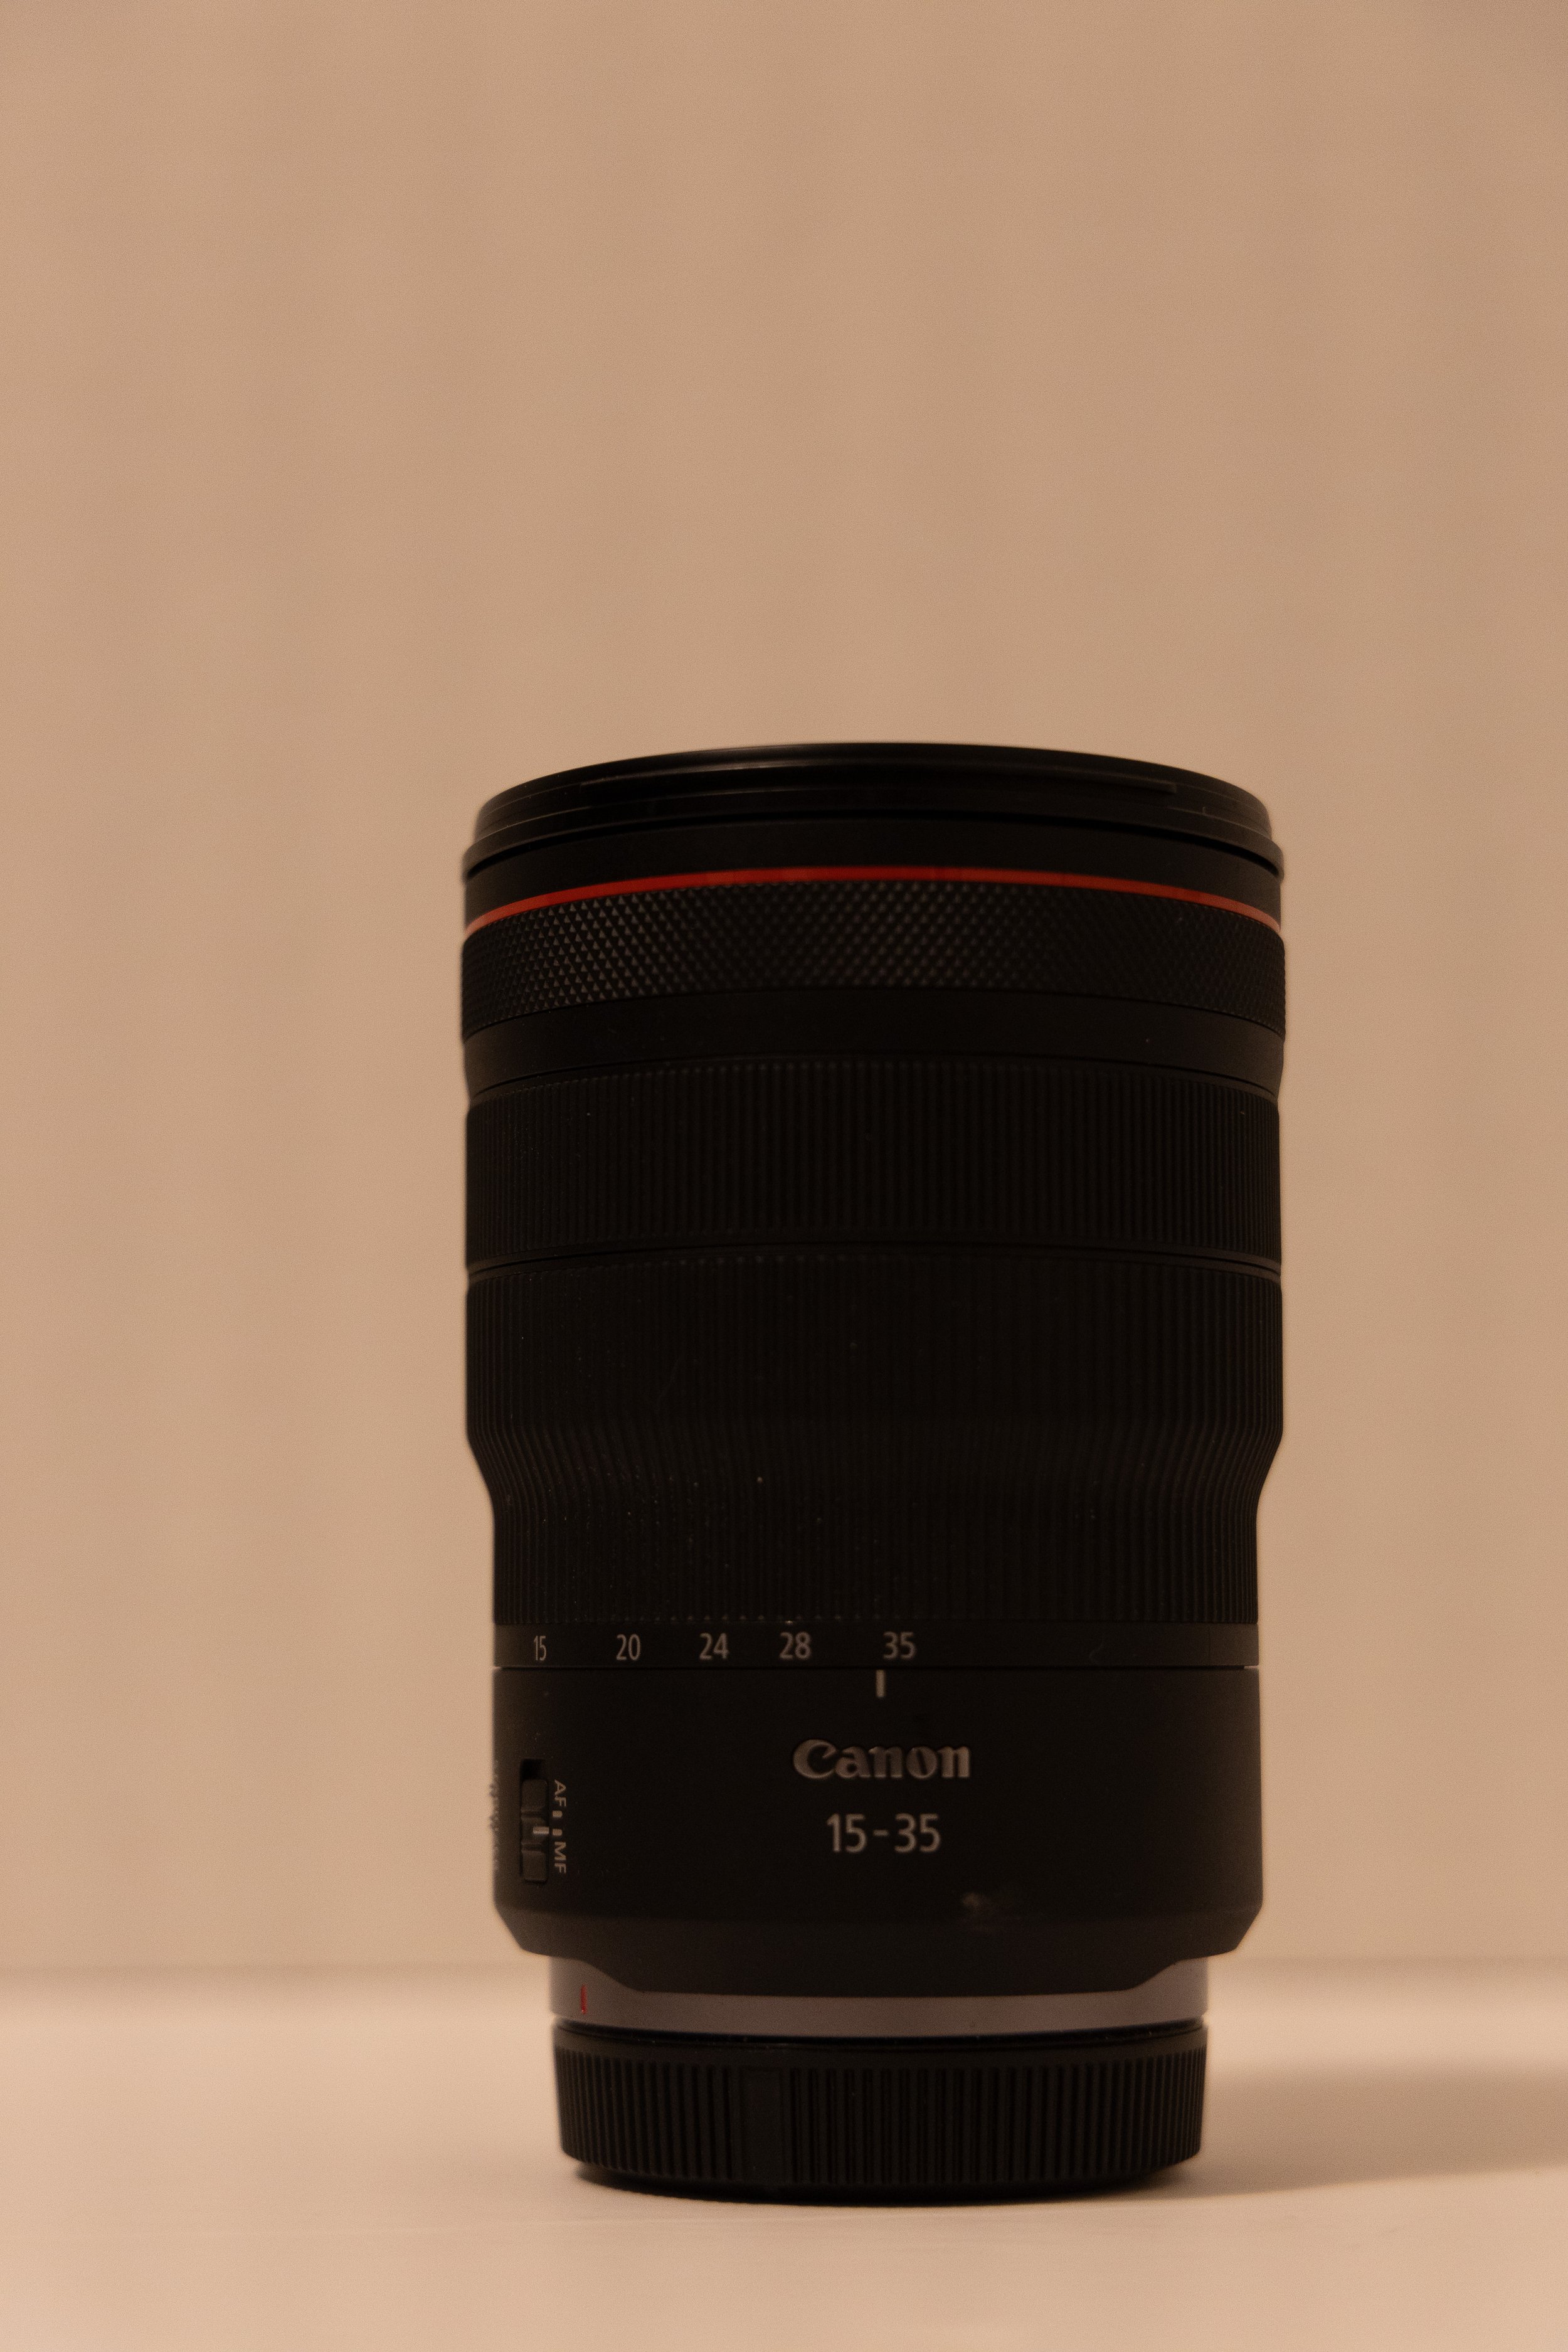
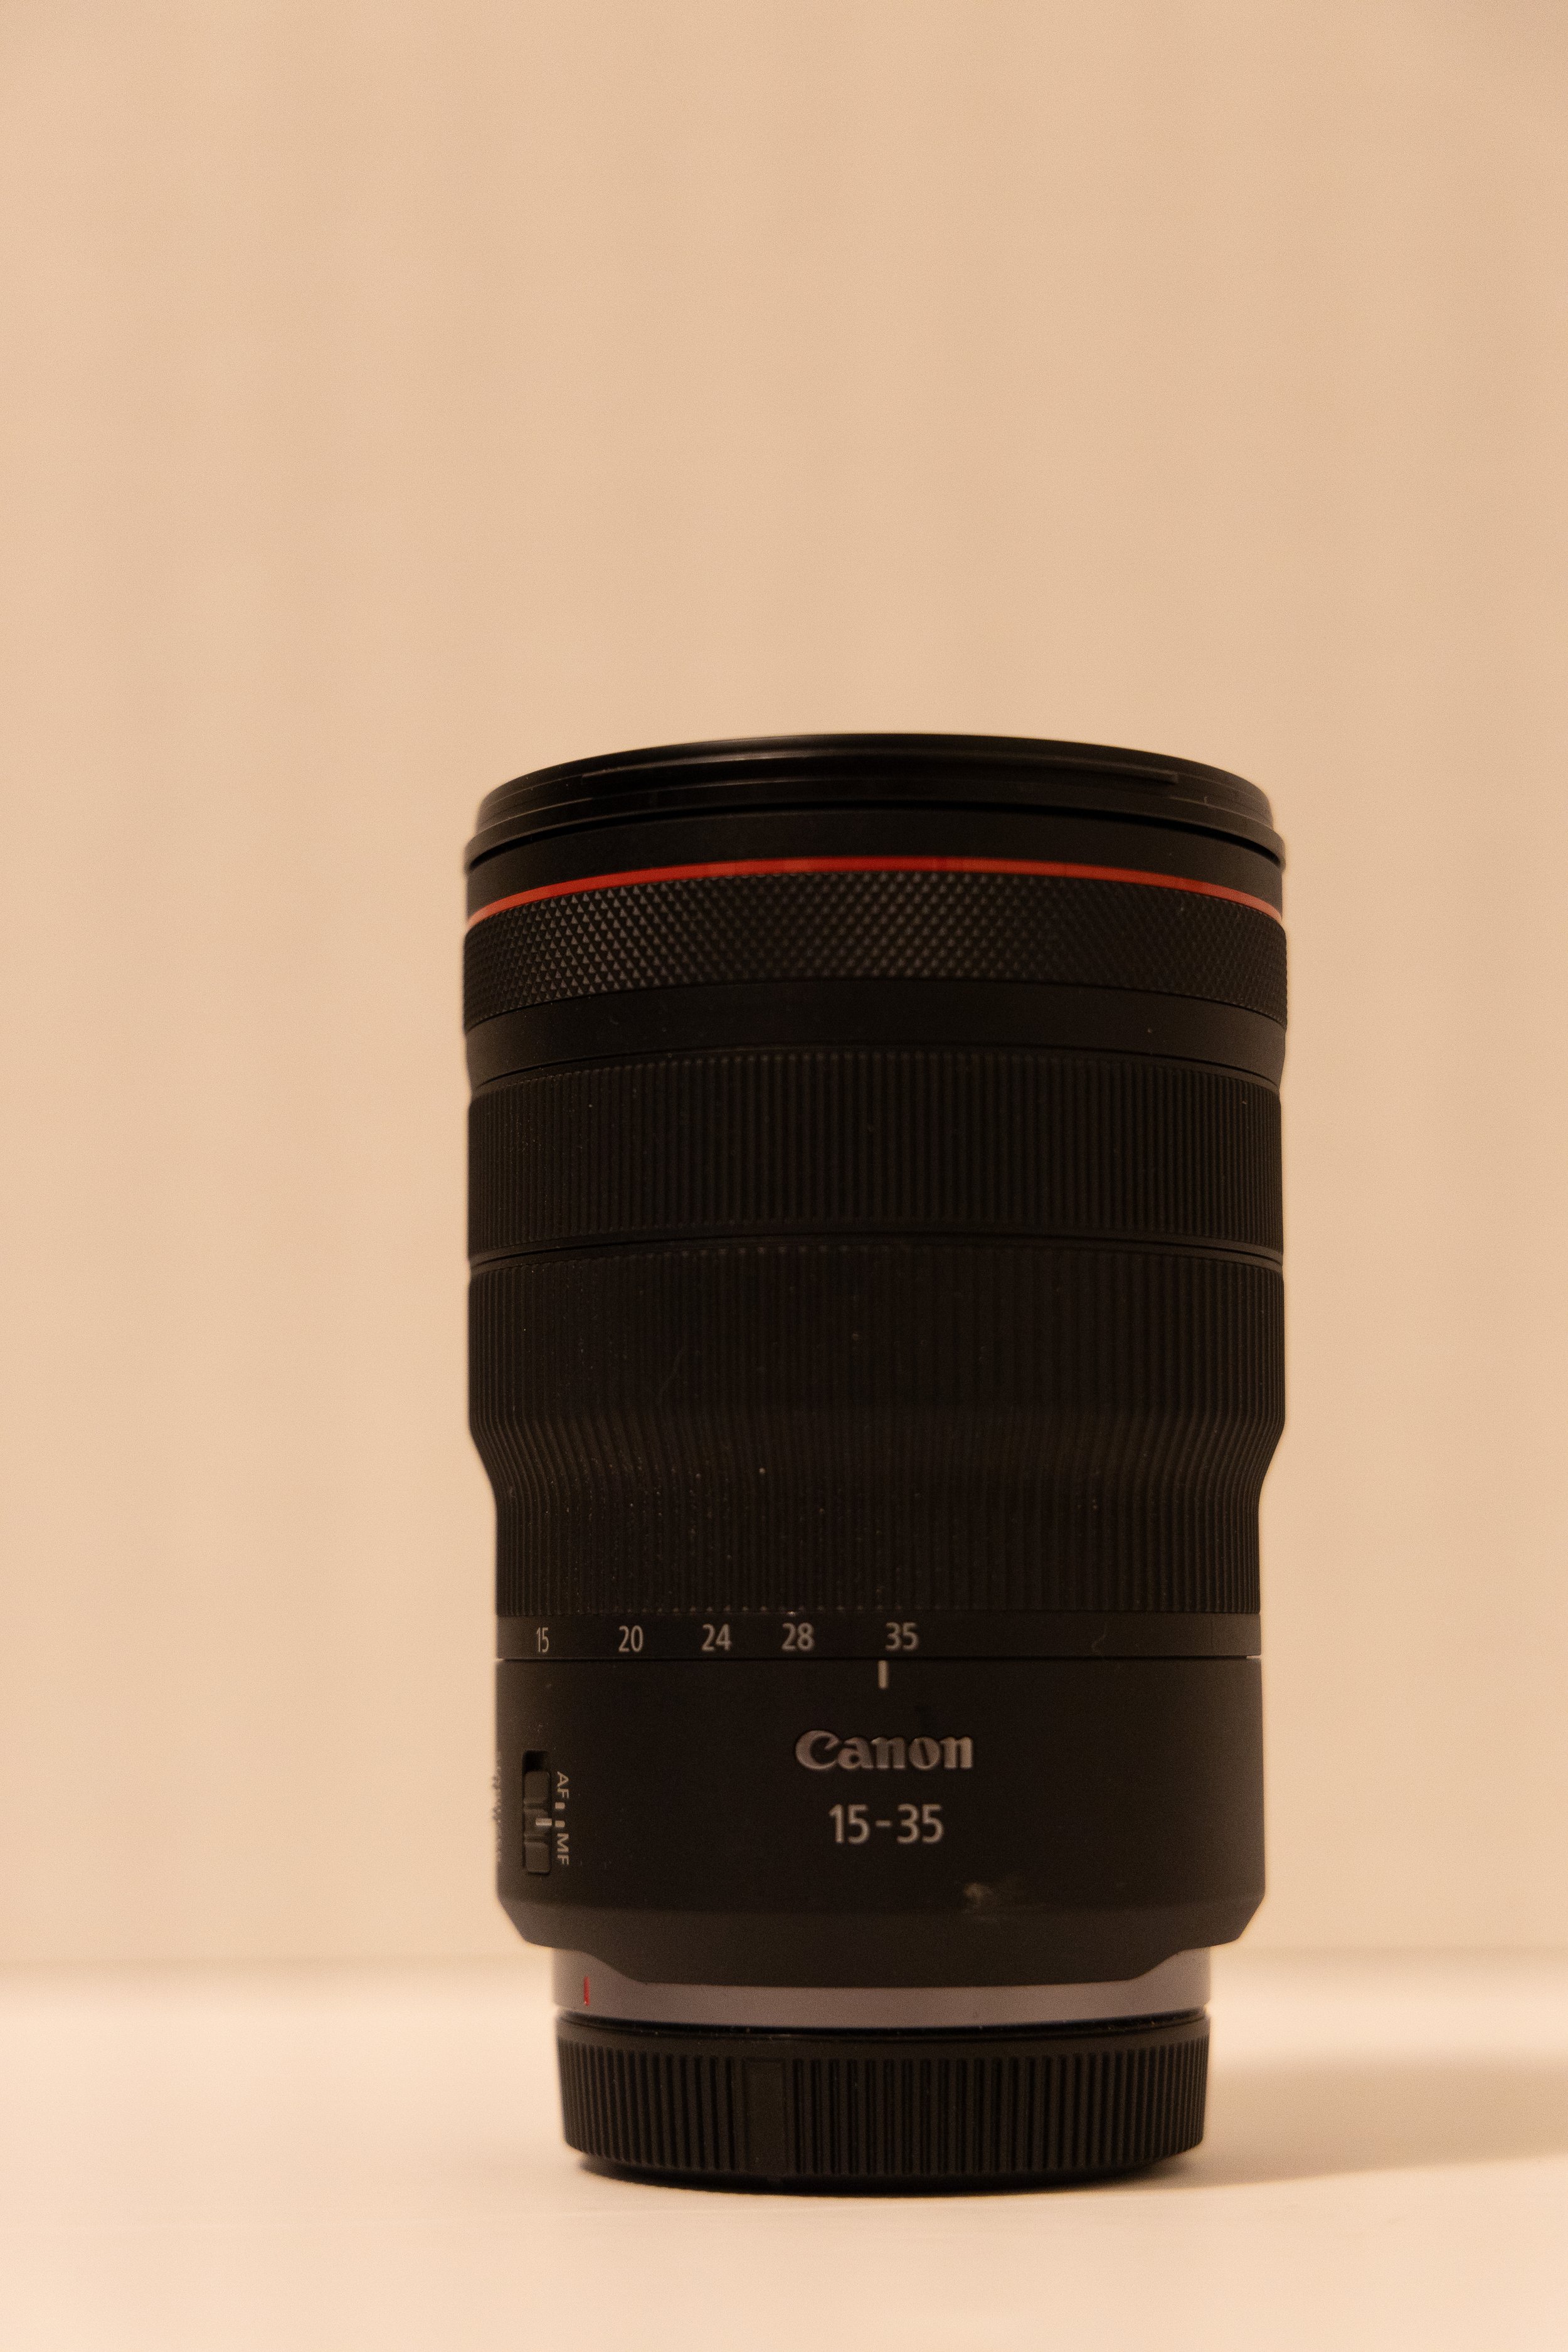
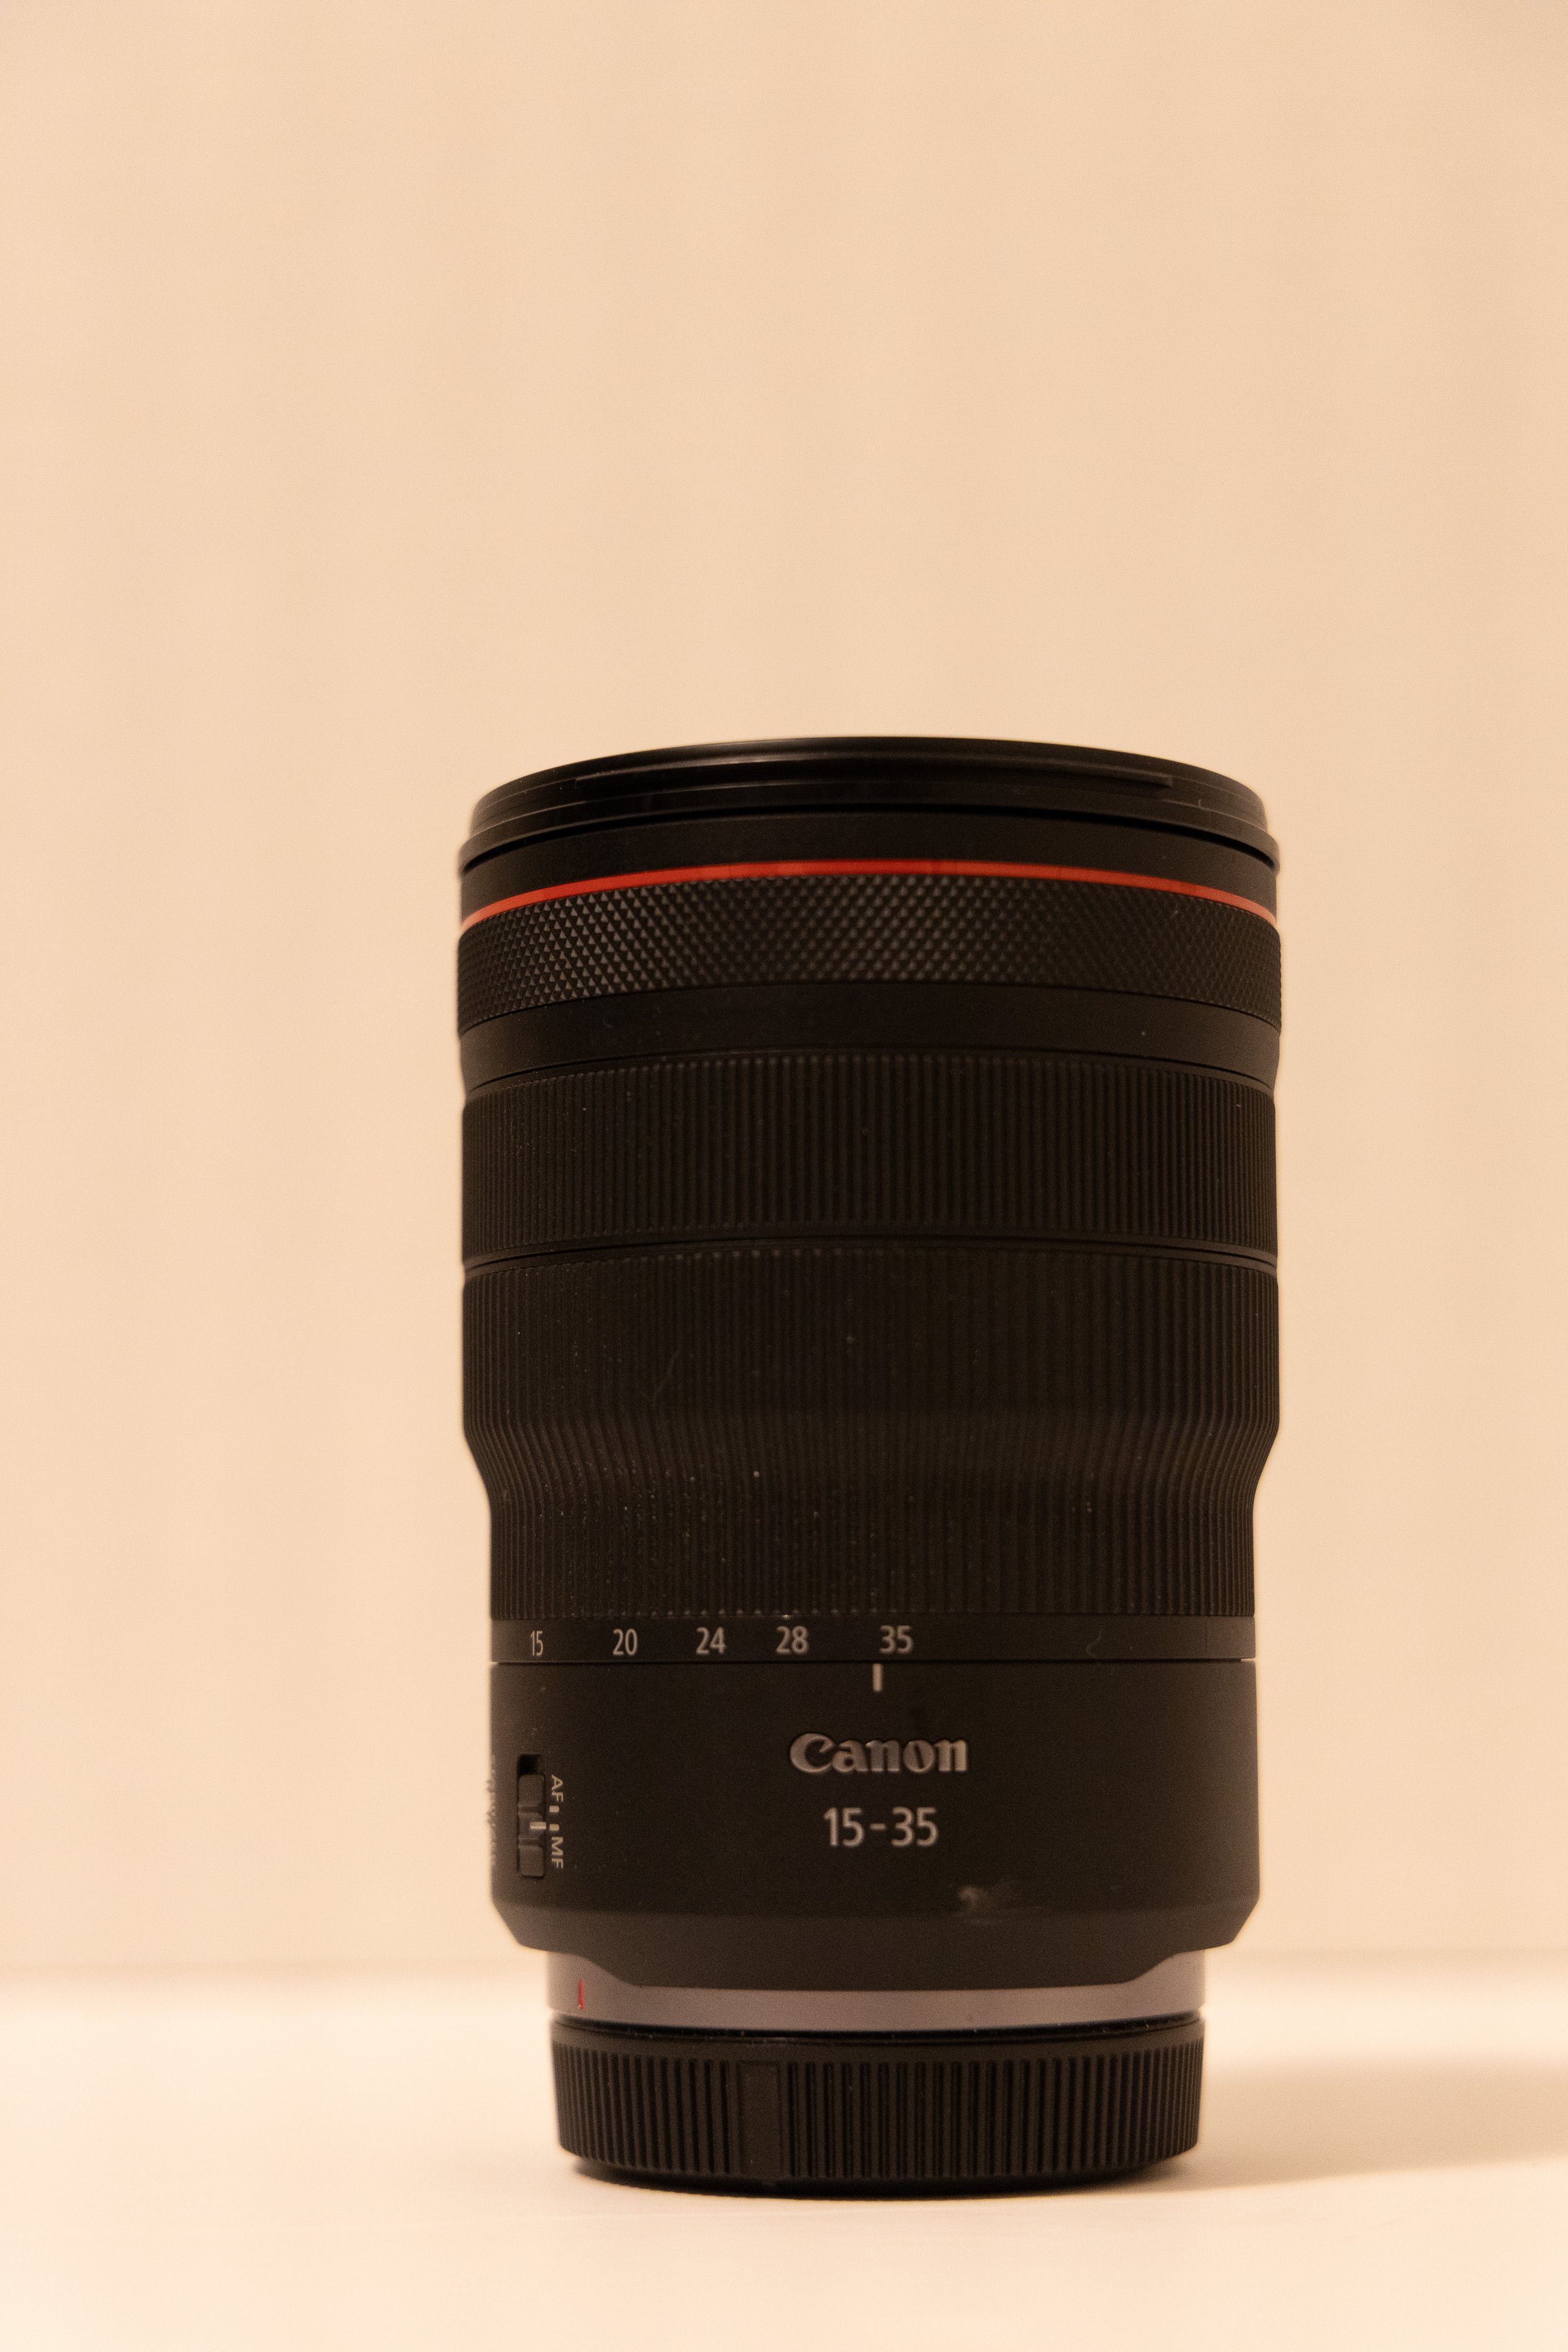
These are a few popular f/stops that photographers use. Not every lens will have as low apertures like others. Every lens has a different aperture range. For example, my Canon RF 24-105mm can range from f/4-f/32, and my Canon RF 15-35 can range from f/2.8-f/32.
Aperture, or also referred to as “f/ stop”, is what determines what is going to be in focus and how much light is being let into your camera. This setting takes a little more time to understand and fully grasp than shutter speed, but it can make all the difference in your images. The hard thing to remember with aperture is the smaller the number, the bigger the opening and vice versa. The smaller your f/stop number is the more light you’re letting into your camera, which also gives you a shallower depth of field. A smaller f/stop number is best for low light situations such as night photography, or when you want to isolate your subject, such as portraits.

This image was shot at f/4, which isn’t very large when considering astrophotography. But due to the lens I was using this was the most light I could let in. I prefer to shoot my Milky Way images around f/2.8.
Now the larger your f/stop number is the more in focus your image will be, but you are also letting in less light. For example, I prefer to shoot my landscape images between f/11 and f/16 in order to make everything in my image sharp. Since I am letting in less light I either need to slow my shutter speed down, or if I’m shooting handheld I’ll raise my ISO (the final setting to learn and master).
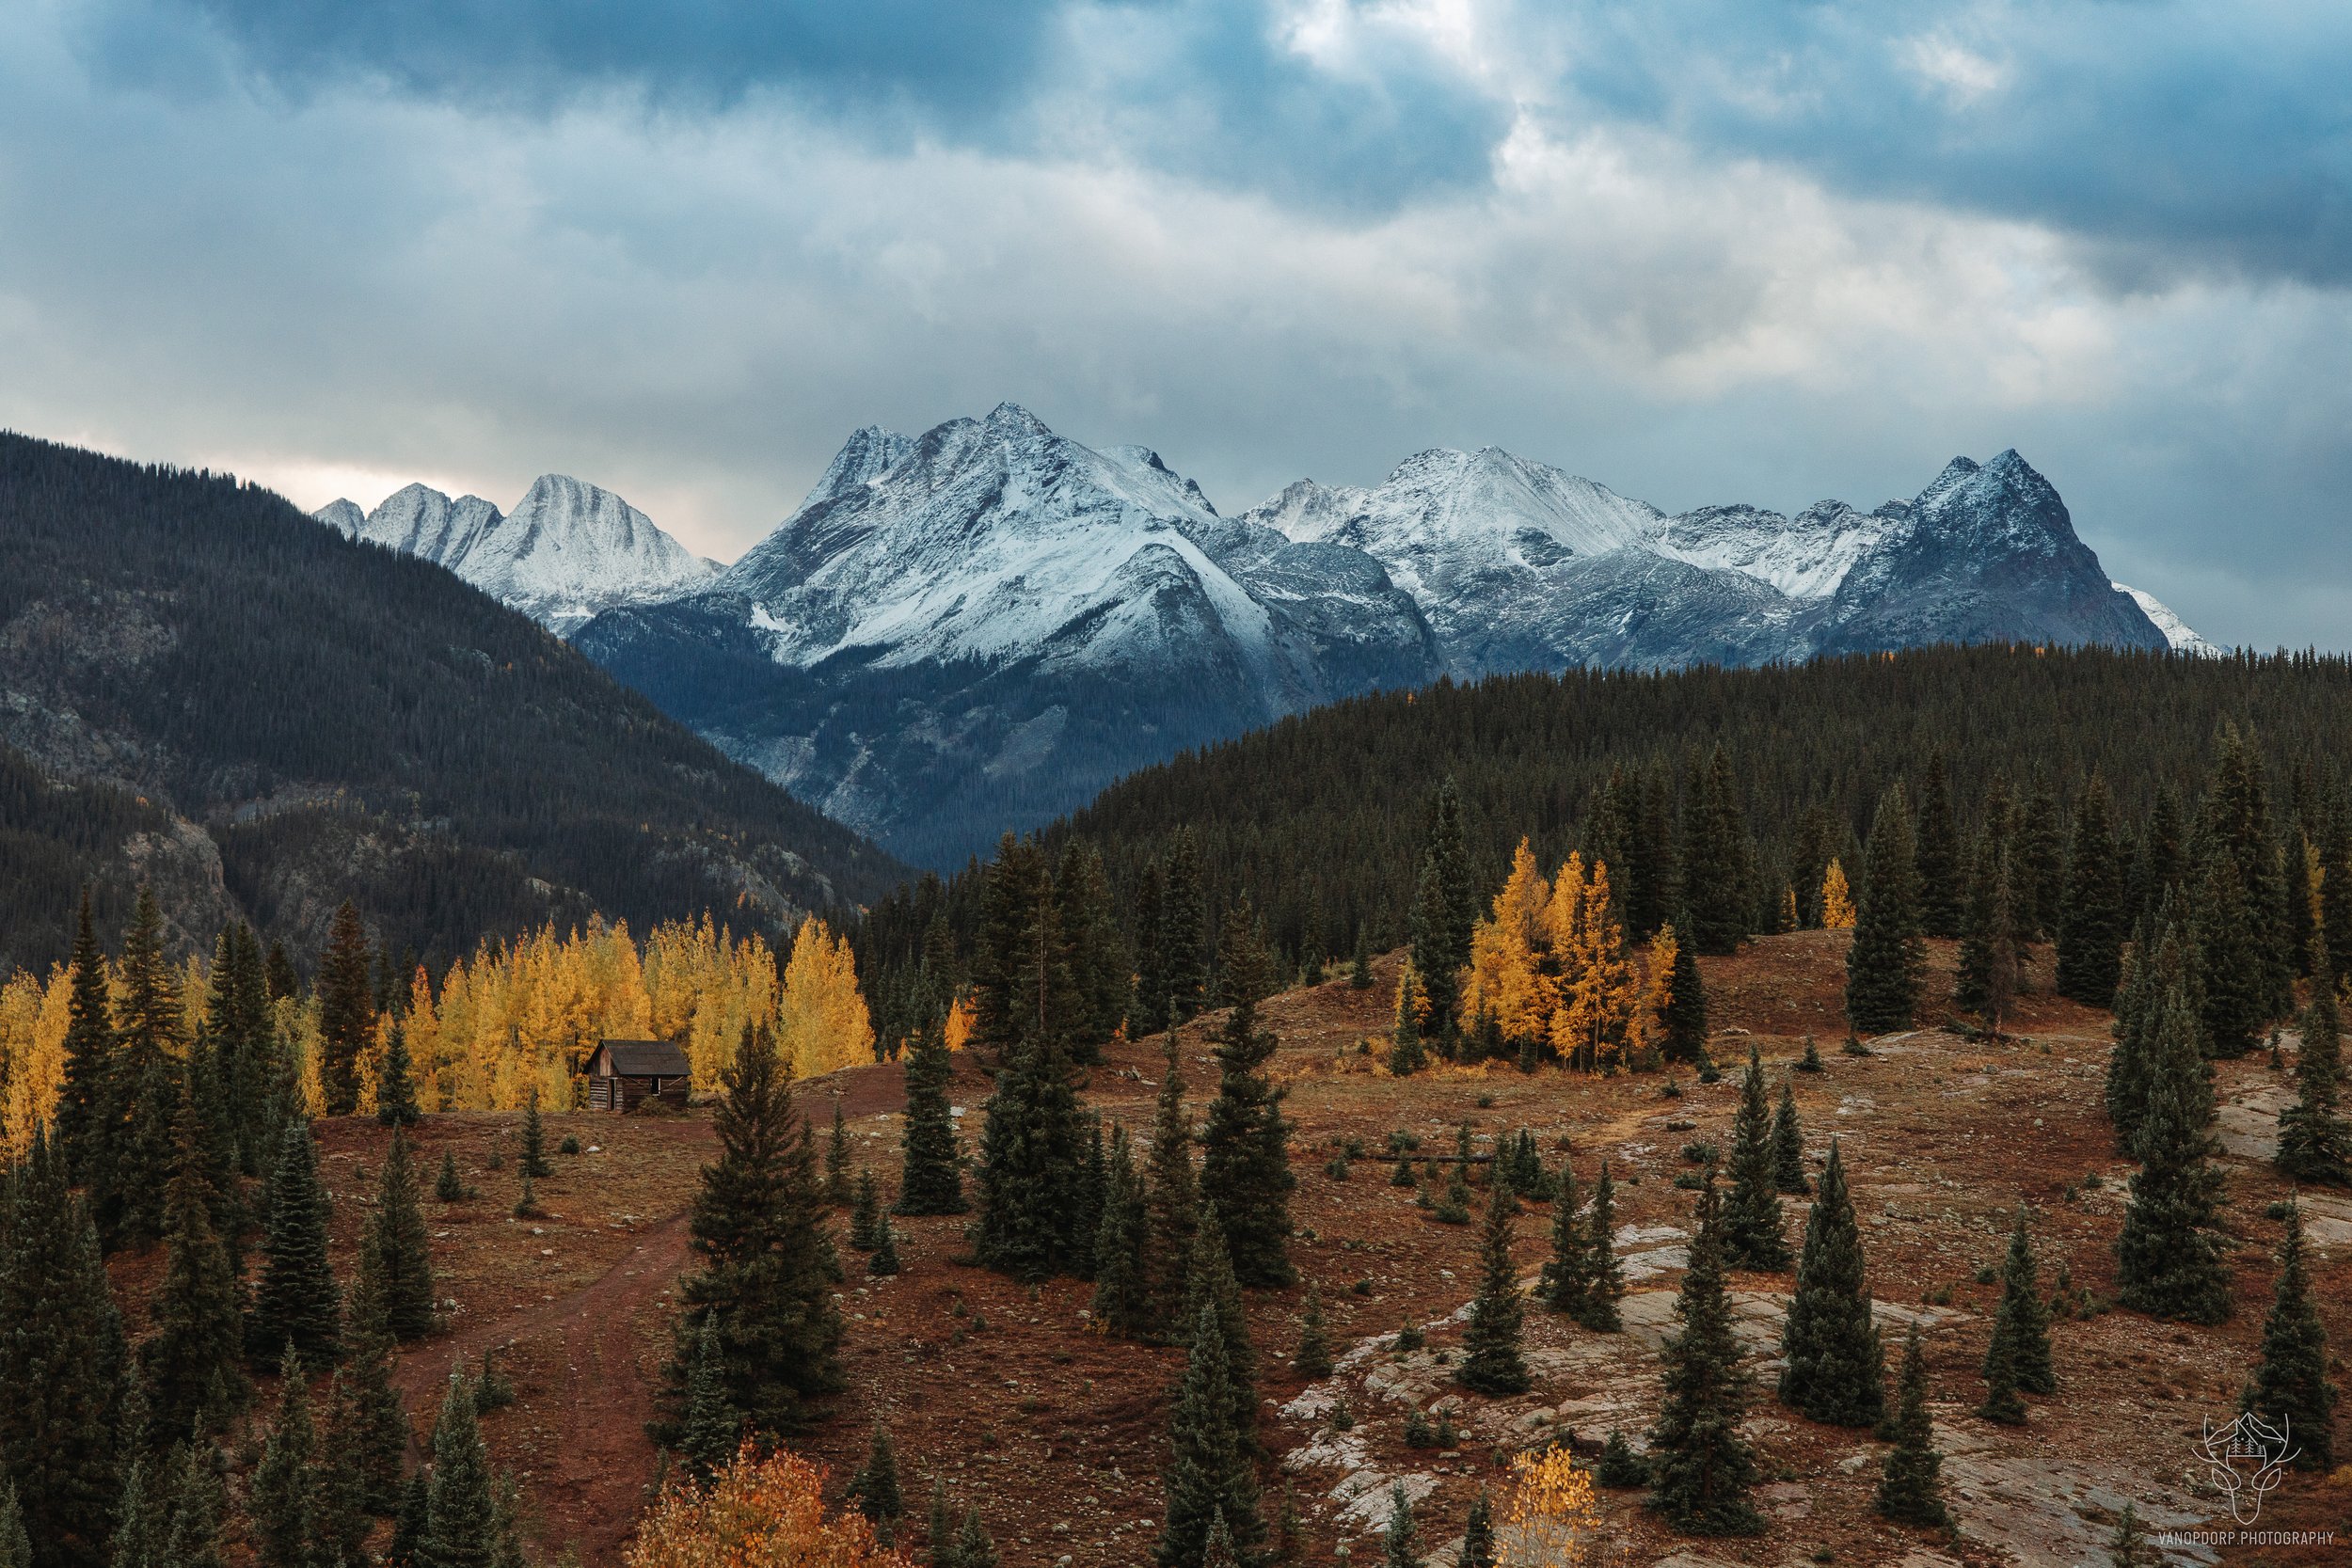
For this photo I used an aperture of f/11 in order to make sure everything in the image is sharp.
In my opinion, aperture is the hardest to learn since it seems reversed. The smaller the number, the bigger the aperture, the less in focus everything is, and vice versa. But once you have a good understanding of what this setting does it becomes the most crucial part to any photograph. Just like shutter speed, experimenting with your aperture will help you get a better grasp as to what this setting does and how you apply it to your own niche and style.
ISO
I like to describe ISO as “fake light”. This isn’t actually what it is, but it makes it easier to understand. ISO determines how sensitive your sensor is to natural light. If you have a low ISO such as 100, then your image will be darker if your other settings are not set properly, and with a high ISO such as 3200, your image could be too bright and blown out if your settings are not properly set. The lower the ISO the better because as you increase your ISO the more digital “noise” is introduced into your image, causing a green and purple tint in your shadows, and making your overall image extra grainy and not as sharp or in focus. I like to stay between ISO 100 to 800 in my day to day photography. Night photography is a little different though. When I’m shooting my Milky Way images I usually shoot at an ISO 3200 with a wide aperture and slower shutter speed.

All of these shots were taken using a shutter speed of 1/60 of a second at f/4. The ISO changes in this order. 100,200,400,800,1600,2500,3200,6400,10,000
Once you learn each of these settings and how they work independently, you’ll be able to create stunning photos and improve your photography skills. These are the basic settings that need to be mastered and understood in order to take stunning photographs. How you use these settings is up to your style and niche as a photographer. Every form of photography has a set of “rules” that every photographer follows. I use the term “rules” lightly because the best part about photography is that the rules are meant to be broken. Landscape photographers prefer to shoot at lower shutter speeds with smaller apertures like f/11 and f/16, while portrait photographers prefer to shoot at higher shutter speeds and larger apertures such as f/5.6 or larger. However, these are just the foundation for their category. The rules can be broken depending on your style. Photography is a form of art, and it is up to you as the photographer to capture the mood of your subject creatively.
I will be writing another blog soon that goes more in depth on shooting techniques, and more ways to make sure you’re capturing the best photos you can.
